Quick answer: A home energy audit shows where a house wastes energy, and a professional one adds a blower door test to measure air leakage. Start with a DIY walk-through, then book a certified auditor if leaks or missing insulation turn up.
An audit is the first step in any retrofit, and it works best when it feeds a wider plan such as how to build a green home. This guide sets the DIY checklist beside the professional process and explains how to read the results.
Choosing between a DIY and a professional audit
The right starting point depends on what you need the audit for. A DIY pass is enough to find obvious drafts and thin insulation. A professional audit is the route when you want measured air leakage, a written report or access to incentives.
- Choose DIY when you want to find obvious problems cheaply and decide whether a professional visit is worth booking. The U.S. Department of Energy offers a DIY Home Audit guide for exactly this.
- Choose an introductory check-up when you want a quick professional opinion before committing to more work.
- Choose a comprehensive audit when you plan substantial upgrades, want a blower door reading or need a report that rebate programs will accept.
Rewiring America puts the upfront cost of an audit at $0-$900 and the time required at 2-3 hours. The low end of that range usually reflects a utility-subsidised audit, so check your utility before paying a private auditor. The table compares the options on scope and use.
| Option | What it involves | Planning use |
|---|---|---|
| DIY audit | Your own walk-through using the U.S. Department of Energy’s DIY Home Audit guide | Finds obvious leaks and insulation gaps, and helps you decide whether to book a professional |
| Introductory energy check-up | A quick introductory assessment lasting 30-60 minutes by a participating contractor | Suits a first look at a home with no specific upgrade planned |
| Comprehensive home energy audit | An in-depth audit lasting 2-4 hours by a participating contractor | Suits homeowners planning real upgrades who want a detailed set of recommendations |
The time ranges come from a utility program’s home energy evaluation page, and the DIY guide is listed among the U.S. Department of Energy resources on California’s efficient home page.
DIY home energy audit checklist
A DIY audit is a room-by-room hunt for the problems that weatherization addresses. Weatherization generally consists of finding and sealing air leaks and adding basic insulation where it is missing, according to the California Air Resources Board’s efficiency guidance. Your checklist should therefore focus on the building envelope, the shell of walls, roof, floor, windows and doors that separates indoor air from outdoors.
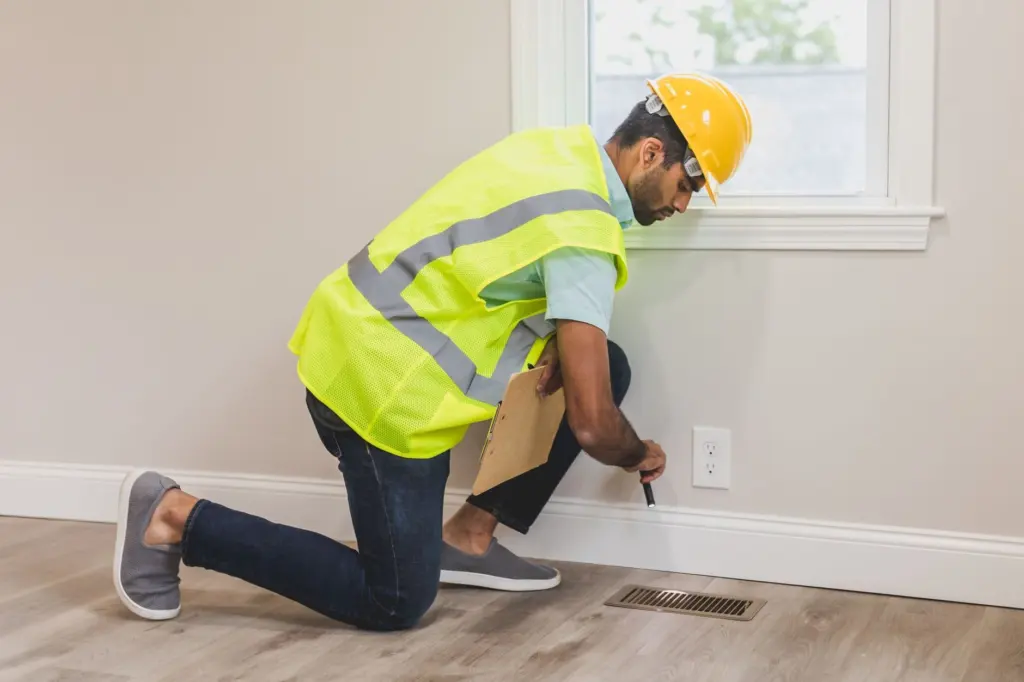
Walls, outlets and baseboards
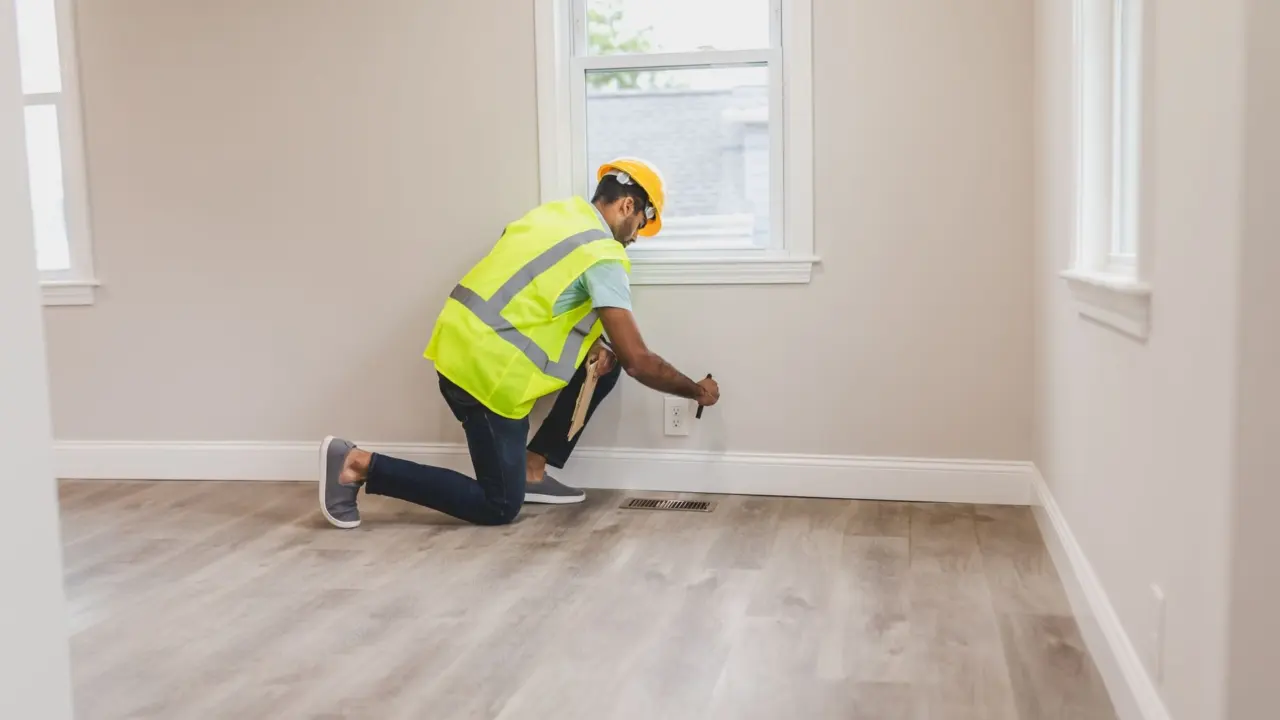
Walk the perimeter of each room on a cool or windy day and carry a notepad. Hold the back of your hand near outlets and switch plates on exterior walls, and check along baseboards and window trim for moving air. Note every location, because the pattern of leaks matters more than any single gap.
Windows and doors
Look at the weatherstripping and caulk around every operable window and exterior door. Close each one on a slip of paper and see whether it pulls out with no resistance. Record cracked caulk, compressed or missing seals and any gaps you can see daylight through.
Attic, basement and crawl space
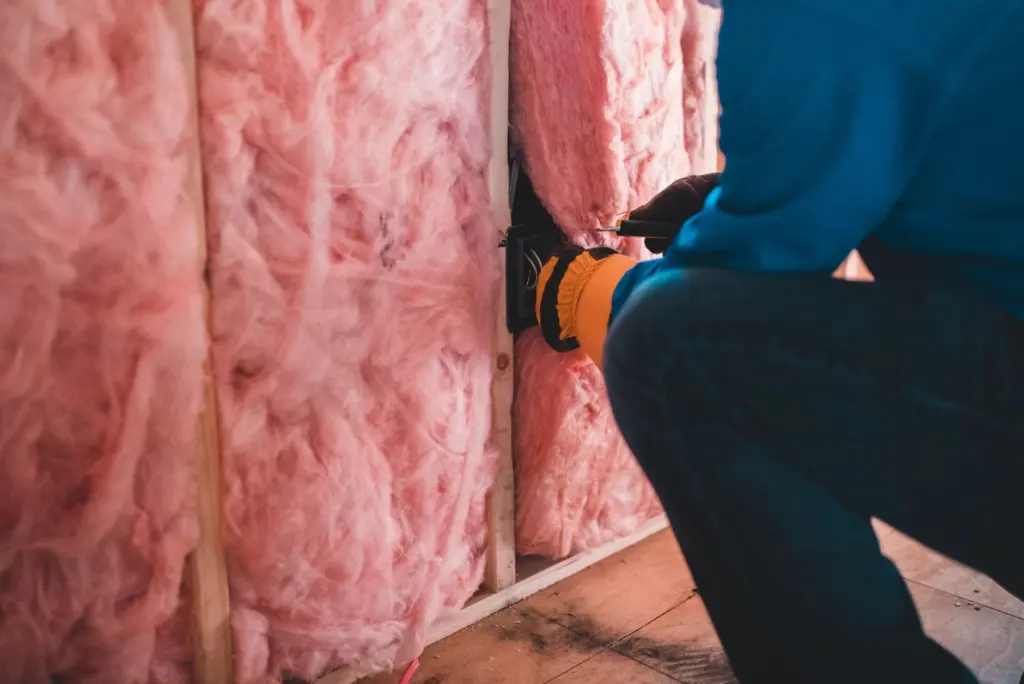
The attic floor is where missing insulation is easiest to spot. Look for bare patches, uneven or compressed material and gaps around pipes and wiring. Measure the depth with a ruler or tape in several spots and write the readings down. Inspect rim joists, basement walls and crawl space edges for gaps and uninsulated surfaces too. Findings below grade usually lead to the work covered in how to insulate a basement.

Where a DIY audit stops
A walk-through finds leaks you can feel or see but cannot quantify them. It also cannot tell you whether sealing is a good investment for your particular house. That judgement needs a measured reading, which is where the professional process comes in.
What happens during a professional home energy audit
A professional audit is a structured inspection that ends in a written set of recommendations. NYSERDA describes its Home Energy Plan as a top-to-bottom look at where a home uses energy, where it may be wasting it, and what health or safety issues exist. Rewiring America adds that an audit can identify wasted energy and safety issues, unlock rebates and suggest solutions.
Scope and duration
A comprehensive utility audit is an in-depth assessment lasting 2-4 hours, delivered by a contractor qualified to provide home energy assessments and audits. The introductory version is a quick 30-60 minute assessment, as the utility program page sets out. Expect the auditor to examine the envelope, heating and cooling equipment, and appliances, and to talk through your bills and comfort problems.
Safety checks
According to Rewiring America’s homeowner guide, a good audit measures the safety of fossil fuel-burning appliances and determines whether you need better ventilation. This matters because tightening a house changes how it ventilates. Ask whether combustion safety testing is included before you book.
The written report
The federal definition of a qualifying audit is useful as a quality benchmark. ENERGY STAR’s federal tax credit page says the audit must be conducted and prepared by a certified home energy auditor. It must also produce a written report that identifies the most significant and cost-effective energy efficiency improvements, with estimated savings. A verbal summary alone does not meet that standard.
Blower door test and thermal imaging
A blower door test uses a door-sized piece of canvas and a large fan to measure how tightly a home is sealed. The canvas panel is fitted into an exterior doorway and the fan pulls air out of the house. The measurement shows how much outdoor air flows in through gaps in the envelope.
Reading CFM50 and ACH50
Results are reported as air leakage: CFM50 expresses the airflow in cubic feet per minute, and ACH50 expresses it as air changes per hour. A higher number means a leakier house. Rewiring America notes that the ACH or CFM reading helps determine whether air sealing would be a good investment. A very leaky result points to sealing as an early priority, while a tight result means other upgrades may deserve the budget first.
Before and after readings
Some rebate or incentive programs might require a blower door test before or after the work, so confirm the rules before any sealing begins. A reading taken before the work is also the baseline you will compare with once the job is done. The sealing methods themselves are covered in how to air seal a house.
Thermal imaging
Some auditors add an infrared camera, which shows surface temperature differences as a colour image. It is a visual aid that can point to missing insulation and leak paths, and it complements the blower door reading rather than replacing it. If a thermal imaging home inspection is offered, ask what it will be used to check and whether the images will be included in the report.
Turning audit findings into a priority list
Rank the findings by safety first, then by how much each fix cuts waste for the money. NYSERDA says the first recommended steps are typically insulation and air sealing upgrades, and that following a plan typically cuts a home’s energy use by 5-30%. Rewiring America adds that a good audit identifies health, safety and comfort issues and gives detailed information to help you prioritise projects.
- Resolve safety items. Deal with combustion appliance and ventilation issues flagged by the auditor before making the house tighter.
- Seal air leaks. Use the blower door reading to judge whether sealing is worthwhile, and start with the largest leaks the auditor identifies.
- Add insulation where it is missing. Use your recorded depths and the auditor’s findings to target the attic, then basement and crawl space areas.
- Replace equipment last. Sizing heating, cooling and water heating equipment is easier once the envelope has been improved.
Weatherization is generally finding and sealing air leaks and adding basic insulation where missing, which is why sealing and insulation lead the list. Group work that shares access, such as sealing and insulating the same attic, so you open each space once.
Audit programs, rebates and tax credits
Utility and government programs can lower the cost of an audit and of the work that follows. A free energy audit through a utility can give access to additional free resources, rebates and income-qualified programs, according to California’s efficiency guidance. Rewiring America notes that some utilities provide additional rebates based on your audit results.
- Utility programs. One utility offers a rebate of up to $400 on an eligible ENERGY STAR certified heat pump water heater through its home energy evaluation program. Check what your own utility offers.
- State programs. In New York, NYSERDA’s Home Energy Plan can be followed by a more detailed in-person assessment from a participating contractor at no cost once you are ready to upgrade.
- Federal tax credit. The audit credit is 30% of costs up to $150, and the overall limit for efficiency tax credits in one year is $3,200. It applied to products purchased and installed between January 1, 2023 and December 31, 2025, and only to an existing principal residence. New construction and rentals are excluded, as ENERGY STAR explains. Confirm whether it applies to your timing before relying on it.
Troubleshooting common audit problems
- The report has no ranked recommendations. Ask the auditor for a written report that names the most cost-effective improvements and estimated savings, which is what the federal definition of a qualifying audit expects.
- Your DIY pass found many leaks. Book a professional audit with a blower door test, since the reading helps show whether sealing is a good investment.
- A rebate application asks for test results. Some programs might require a blower door test before or after the work, so ask the program administrator which readings they need and when.
- You rent your home. The federal audit credit is limited to existing principal residences owned by the taxpayer, so rentals are excluded. Ask your utility about free audit options instead.
- The audit costs more than expected. Check utility programs first, because Rewiring America’s range starts at $0 and utility audits can be free.
Frequently asked questions
How long does a professional home energy audit take?
A comprehensive utility audit is an in-depth assessment lasting 2-4 hours, while an introductory check-up is a quick 30-60 minute assessment, according to a utility program page.
Is a DIY audit worth doing if I plan to hire a professional?
Yes. A DIY walk-through helps you describe problem areas and decide whether a professional visit is justified. It cannot measure whole-house air leakage, which is the job of the blower door test.
What does a blower door test tell me?
It measures how tightly your home is sealed, and the ACH or CFM reading helps determine whether air sealing would be a good investment, per Rewiring America.
Can an audit help me get rebates?
Often. A free utility audit can give access to rebates and income-qualified programs, according to California’s efficiency guidance. Some programs may also require a blower door test before or after the work.
What should I fix first after an audit?
Address safety issues first. Then, as NYSERDA notes, the first recommended steps are typically insulation and air sealing upgrades.