
| Symptom | First action | Planning use |
|---|---|---|
| Warm indoor air escaping into the attic | Seal gaps where dropped ceilings meet walls and where interior wall top plates meet the attic floor | Start here, because warm air rises and leaves through unsealed attic openings. |
| Recessed lights that are not airtight | Fit a sealed cover or otherwise close the fixture off from the attic | Treat as part of the attic pass. |
| Drafts around pipes and wires | Fill the gap with expanding foam | Best for small, irregular openings. |
| Drafts at window frames | Caulk the exterior frame and weatherstrip the operable parts | Use caulk for fixed joints and weatherstripping for moving ones. |
| Drafts at exterior doors | Add weatherstripping to the door edges | A quick, low-skill fix to do late in the sequence. |
| Cold air at the foundation or rim joist | Seal with foam board, caulk and spray foam | Covers basement and crawl space edges. |
| Gaps around a flue or chimney | Use fire-rated sealant and barriers only | Never substitute ordinary foam or caulk here. |
| Stale air or moisture after sealing | Review ventilation | Plan it before you finish, not after. |
This quick reference follows the guidance in Green Life Is Good’s air sealing explainer.
To learn how to air seal a house, match each leak to the right material, work from the attic downward, and handle flues and ventilation before you seal anything near them.
Air sealing is one stage of a wider retrofit, covered in our guide on how to build a green home. The task suits a confident DIYer with a caulk gun and a free weekend. The result is a house where far less conditioned air escapes through gaps you can reach.
Where the biggest leaks are
The attic is the best place to look first, because of the stack effect. Warm air rises, and significant amounts of conditioned air can escape through unsealed openings in the ceiling plane. That is why attic work usually pays off before any wall or door fix.
Top plates and dropped ceilings
Gaps where dropped ceilings meet walls, or where the top plates of interior walls meet the attic floor, can be surprisingly large leakage paths. They are hidden from the living space, so they are easy to miss during a walk-through. Look for them from the attic side, where the framing is exposed.
Recessed lights, windows, doors and foundations
Many recessed light fixtures are not airtight and can act like tiny chimneys, letting warm air into the attic. Windows and doors leak at the frame and at the moving parts. At the foundation and rim joist, the edges of basements and crawl spaces are another common path.
If you cannot tell where your own house leaks, a home energy audit will point you to the right places before you buy materials.
Safety checks before you seal
Check anything that carries heat or combustion gases before you pick up a tube of foam. Gaps around a flue or chimney need special fire-rated sealants and barriers, which keep the opening safe while still stopping air flow. Standard expanding foam and general-purpose caulk are not substitutes in those gaps.
If the house has a fuel-burning appliance, ask a qualified professional to look at it before you tighten the house. The aim is to confirm the appliance and its flue are in good order, and the right time to do that is before the sealing work starts.
Decide on ventilation now too. A tightly sealed home still needs proper ventilation to exchange fresh air, so treat it as part of the same job and not as an afterthought.
Choosing the right material for each gap
No single product suits every opening, so choose by the gap’s size and shape. A sound rule is to caulk fixed joints, foam irregular openings and weatherstrip anything that moves.
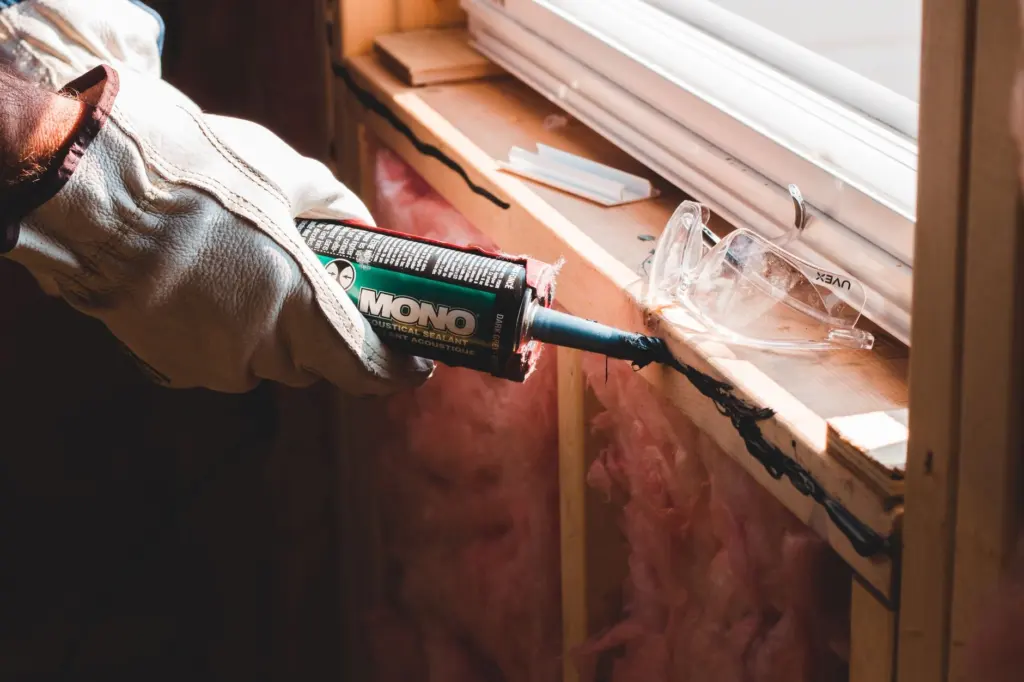
- Caulk: suits the exterior frame around windows and doors, and the narrow joints at the foundation. Pick a product that suits the surfaces it touches and the location. The best caulk for air sealing is the one made for the gap in front of you, not a universal tube.
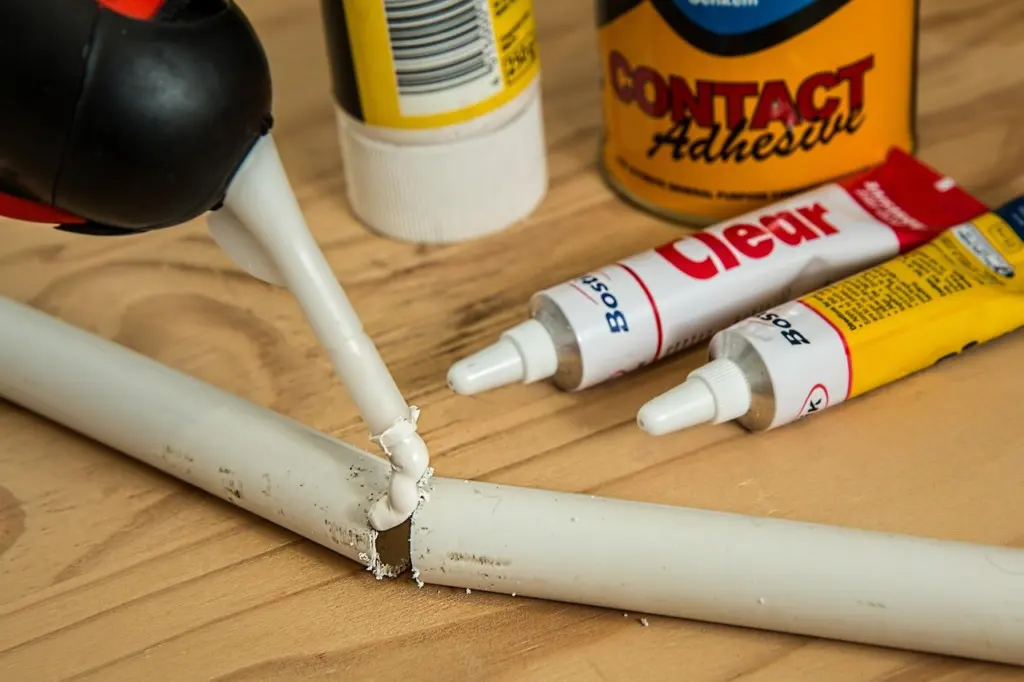
- Spray or expanding foam: is well suited to smaller, irregular openings such as those around pipes and wires. Use it for penetrations through a top plate or the attic floor.
- Weatherstripping: belongs on the operable parts of windows and doors, where a rigid sealant would crack or tear.
- Foam board with caulk and spray foam: is often a very effective combination at foundation and rim joist gaps in basements and crawl spaces.
- Fire-rated sealant: is reserved for flues and chimneys, as described above.
Cost is mostly the materials for this kind of work. Buying a few tubes and cans for the specific gaps you found is usually more sensible than a bulk purchase of one product.
The order to seal an attic, basement and walls
Seal from the top of the house down, and finish before insulation goes in. Insulation slows heat transfer, whereas air sealing stops air movement, so the two jobs are different and the sealing must come first.
- Attic floor and penetrations. Seal the top plate and dropped-ceiling gaps, then fill pipe and wire openings with foam and cover the recessed lights.
- Basement or crawl space. Seal the foundation and rim joist gaps with foam board, caulk and spray foam.
- Walls. Close penetrations in the wall air barrier, including openings made for pipes and wiring.
- Windows and doors. Caulk the frames and add weatherstripping last, since this is the easiest fix to repeat or adjust.
- Final inspection. Before insulation or drywall, inspect the air barrier and seal any remaining gaps, seams and penetrations.
The inspection step matters because insulation contractors are described as the last line of defense in air sealing. They check gaps, seams, joints and penetrations before insulating. Once the insulation is in, those details are harder to reach. Read about types of home insulation to plan what goes in once the sealing is done.
Doors and windows in detail
Caulk the exterior frame so the joint between the frame and the wall stays closed. Then weatherstrip the parts that open. For weatherstripping doors, work along the jamb and the door edges so the strip closes the gap each time the door shuts.

Checking the result with a blower door test
A blower door test measures how leaky the house is, and the result is expressed in ACH50, meaning air changes per hour at 50 Pascals. Building codes use that figure as a benchmark. Under the 2015 IECC, climate zone 2 requires 5 ACH50 or less, and climate zones 3 and 4 require 3 ACH50 or less.
Treat those figures as code limits for new construction, not as a pass mark for a retrofit. They do show how tight a well-sealed envelope can be. Ask whoever runs your test which limit applies in your climate zone, and use the result to judge whether another sealing pass is worth doing.
Ventilation after sealing
Yes, you need to think about ventilation once the house is tighter. Proper ventilation remains crucial in a tightly sealed home to ensure fresh air exchange, so the leaks you closed can no longer be relied on to supply it.
Watch for stale air and condensation in the weeks after sealing. If you see either, talk to a ventilation professional about a planned fresh-air solution before you carry on with the rest of the work.
Frequently asked questions
| Question | Answer |
|---|---|
| Is air sealing the same as insulation? | No. Insulation slows heat transfer, while air sealing stops air movement altogether. Most houses need both, and the sealing goes first. |
| Who seals the holes made during renovation work? | Electricians, plumbers and other trades are responsible for sealing any penetrations they make in the air barrier, so ask them to do it before the insulation crew arrives. |
| Are new houses usually airtight enough? | Not always. In a field study of 64 new homes, almost 90% were above 3 ACH50, so a newer house can still have worthwhile gaps to seal. |
| What did earlier codes allow? | The 2009 IECC allowed either a visual inspection or testing against a limit of 7 ACH50 or less, a looser benchmark than the later code figures. |